 novityinfo
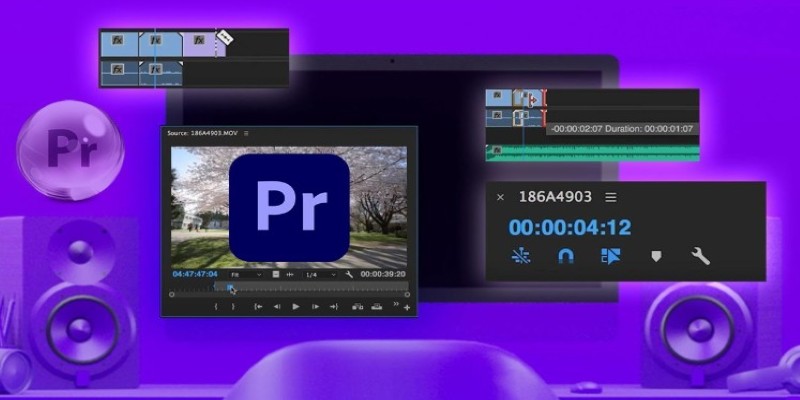
How to Easily Create Smooth Slow-Motion Videos in Adobe Premiere
Advertisement
There’s something about slow-motion that instantly pulls you in. It stretches time just enough to catch what would otherwise go unnoticed — a fleeting look, a sudden movement, the fall of rain. But getting it right takes more than just clicking a button. If you’re using Adobe Premiere, the process gives you full control over how the scene unfolds, frame by frame. Whether you're a beginner testing things out or someone who's been editing for a while, here’s how to approach slow-motion the right way — without overcomplicating things.
Know Your Footage Before You Begin
Before diving into effects and keyframes, it’s good to start with the basics. Not all footage works well with slow motion. If you’ve shot your clip at 24 or 30 frames per second (fps), slowing it down will likely make it choppy. The sweet spot is 60 fps or higher — that gives you enough frames to stretch the time without it looking like a slideshow. Some creators shoot at 120 fps or even 240 fps for ultra-slow results, especially when capturing quick action.
To check your footage settings in Premiere, just right-click your clip in the Project panel and select "Properties." It'll tell you what you're working with. If you've got 60 fps or more, you're good to go. If not, you can still try slowing it down a little but don't push it too far unless you're okay with a stuttering look.
Step-by-Step Tutorials to Create Slow-motion Videos through Adobe Premiere
Setting Up Premiere for Slow Motion
Now, onto the actual editing. Adobe Premiere has a few different ways to apply slow motion, but one of the most straightforward ones is through something called “Interpret Footage.”
Here’s how it works:
- Import your high-frame-rate clip into your project.
- Right-click the clip in the Project panel.
- Choose Modify > Interpret Footage.
- Under “Frame Rate,” check the box that says “Assume this frame rate” and type in your sequence’s frame rate (usually 24 or 30 fps).
- Click OK.
What you’ve done here is tell Premiere to treat your 60 fps footage as if it were shot at 24 or 30 fps. That means Premiere will automatically slow it down — smoothly — without dropping any frames. It’s clean, and you don’t have to adjust speed percentages manually. This works especially well when you’re creating cinematic scenes or trying to keep everything seamless with the rest of your edit.
Manual Speed Adjustment (When You Want More Control)
If you prefer to decide exactly how slow you want your footage, Premiere lets you do that, too.
Here’s the manual way:
- Drag your clip into the timeline.
- Right-click the clip and select Speed/Duration.
- In the pop-up box, change the speed to something lower. For example, 50% speed will slow it down by half.
- Click the “Ripple Edit” box if you want the following clips to adjust automatically.
- Hit OK.
This gives you flexibility. You can adjust it to 80% speed for subtle slow motion or go as low as 20% for more dramatic scenes. Just remember: the lower you go, the more frames you need from your original footage. If you're working with lower fps clips, consider keeping the slow-down modest to avoid jittery playback.
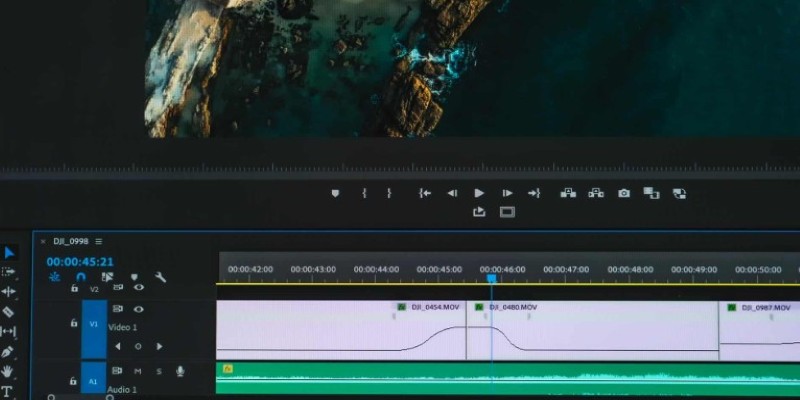
Time Remapping for Smooth Transitions
Time remapping is a tool for when you want speed changes within the same clip — like having something start in real-time, slow down mid-action, and then return to normal speed. It’s often used in action sports, dance, or music videos.
Here’s how to set it up:
- Right-click your clip in the timeline and select Show Clip Keyframes > Time Remapping > Speed.
- Expand the track height so you can clearly see the white speed line running across your clip.
- Hold down Ctrl (or Cmd on Mac) and click the line to set a keyframe.
- Click again to set another keyframe wherever you want the speed to change.
- Drag the line between those two points down to slow it down.
- If you want a smooth transition instead of a sudden speed change, click and drag the little gray handles on either side of the keyframe to create a gradual curve.
It takes a bit of playing around, but once you get the feel of it, time remapping becomes a solid tool to control the pace — not just slow it down.
Optical Flow for Smoother Slow Motion
Even with high-frame-rate footage, sometimes things don’t look as smooth as you’d like. That’s where Optical Flow comes in.
It’s a frame-blending method that Premiere uses to make slow motion look more natural. Instead of just duplicating frames, Optical Flow tries to “guess” what should happen between frames and fills in the gaps. It doesn’t work perfectly for every clip (fast movement or background patterns can trip it up), but when it works, it looks great.
To apply Optical Flow:
- Right-click your slowed-down clip.
- Select Time Interpolation > Optical Flow.
- Render the clip by pressing the Enter key — this is important, or else it’ll just preview as choppy.
Give it a test run. You’ll probably notice a smoother visual, especially if your footage wasn’t originally high fps.
Wrap-Up Thoughts
Slow-motion is one of those editing tools that looks simple but can really shift how your footage feels. Adobe Premiere makes the process pretty straightforward once you get used to it, especially with options like interpreting footage, manual speed settings, and time remapping. Each method gives you a different level of control, and which one you pick depends on the kind of story you're telling.
Start with clean, high-frame-rate footage, try out the methods that feel right, and keep an eye on what your eyes tell you. If it feels smooth and purposeful, you’re doing it right.
On this page
Know Your Footage Before You Begin Step-by-Step Tutorials to Create Slow-motion Videos through Adobe Premiere Setting Up Premiere for Slow Motion Manual Speed Adjustment (When You Want More Control) Time Remapping for Smooth Transitions Optical Flow for Smoother Slow Motion Wrap-Up ThoughtsAdvertisement
Related Articles

How to Reverse Video Footage in After Effects and Best Alternatives

Magisto: The Simplified Approach to Video Editing for Quick and Effective Content

VN Video Editor: Effortless Mobile Editing with Advanced Features

Apple Clips Review: A Simple and Fun Way to Create Expressive Videos
VITA App: A Clean, Capable Video Editor for Quick and Stylish Content

How to Convert WebM to PNG Online Without Installing Any Software

Know More about the Pinnacle Studio: Video Editor on Windows to Download

Step-by-Step Guide to Viewing and Saving Fortnite Replays
VideoGrade App: A No-Frills Color Correction Tool That Actually Delivers

InShot Review: The Go-To Video Editor for Quick, Polished Social Content

VideoShow Review: A Mobile Editor for Quick, Casual Projects