 novityinfo
How to Play a Video Backwards: 6 Easy Methods Anyone Can Use
Advertisement
Ever come across a video and thought, "I wish I could just watch that in reverse"? Maybe it's a funny fall, a clever trick shot, or just for creative editing. Playing a video backward isn't just for professionals anymore—it's something you can do from your phone or computer in minutes. You don't need a studio setup or complicated software, either. Whether you're doing it for fun, social media, or school, these are the six best ways to get the job done without the fuss.
How to Play a Video Backwards in 6 Best Ways
1. Use a Mobile App (Yes, It’s That Easy)
Let’s start with the simplest method. If you're working straight from your phone, there are apps built just for this.
For Android:
Reverse Movie FX does exactly what the name says. Choose your clip, tap reverse, and the app will give you a new video playing backward. You can even keep the sound reversed or remove it completely. No watermark in the free version is a bonus.
For iPhone:

InShot is more of a full video editor, but its reverse feature is clean and easy to use. You can trim your video first, reverse only a part, and even adjust the playback speed if you want to make it look more dramatic.
If you’re on the go or just want something quick, this is probably your best bet.
2. Try an Online Tool (No Downloads Needed)
Are you not in the mood to install another app? Use your browser.
Sites like Clideo and Kapwing let you upload a video and reverse it right there. It works on phones, tablets, and desktops. Just drag your clip in, hit reverse, and download the new version.
What makes this useful:
– No login required
– Most tools give you a preview before downloading
– Great for one-off edits or if your device is low on storage
Heads up: Some tools might add a small watermark unless you upgrade. But for quick edits, that’s often not a dealbreaker.
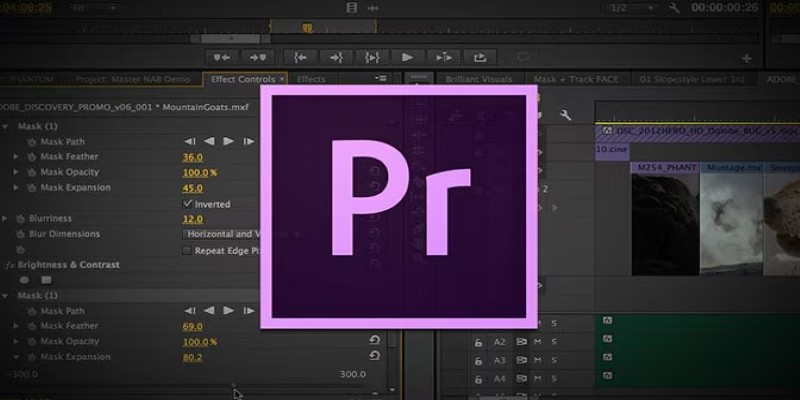
3. Reverse in Adobe Premiere Pro (For Those Who Already Use It)
If you’re someone who edits regularly, you might already have Premiere Pro installed. Reversing a video here takes seconds.
Here’s how:
– Drag your clip into the timeline
– Right-click → Speed/Duration
– Check the "Reverse Speed" box
Done. That’s all it takes.
Premiere keeps the original intact, so you can undo the effect at any time. This method also lets you adjust speed and add effects right after reversing—perfect if you're working on a larger project and need things to look a little more polished.
4. Do It in iMovie (Mac and iOS Users)

iMovie keeps things simple, but it has a solid reverse option if you’re on a Mac or iPhone.
Mac steps:
– Import the clip
– Click the clip in the timeline
– In the speed settings (above the preview window), check the box that says "Reverse."
That’s it.
On an iPhone or iPad, it’s a bit trickier. There’s no built-in reverse in the mobile app, but here’s a workaround: export the clip, reverse it using a free online tool or third-party app, and then bring it back into iMovie for more edits.
It's not ideal for everything, but for quick, clean projects, it gets the job done.
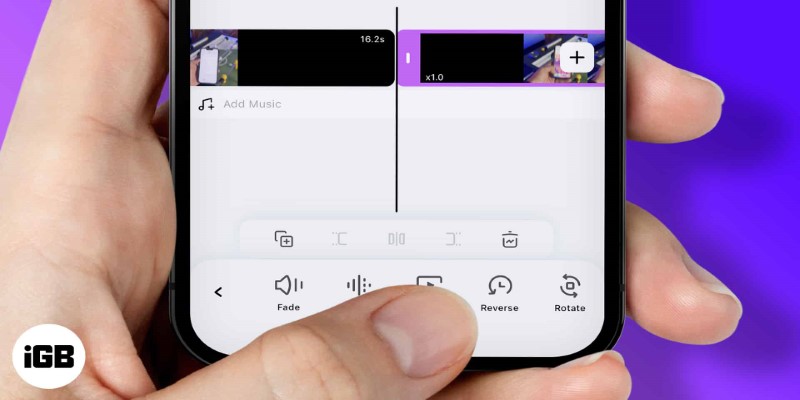
5. Use CapCut (Popular and Straightforward)
CapCut has picked up a lot of attention, especially from short-form video creators. It's free, available on both Android and iOS and surprisingly powerful for something that doesn't cost a thing.
To reverse a video:
– Add your clip to a new project
– Tap on it, then scroll along the bottom bar until you find Reverse
– Wait a few seconds while it processes
Once done, you can export or keep editing. It’s especially useful if you want to add music, stickers, or text after reversing.
CapCut is one of the most convenient options for creators who want everything in one place without paying or dealing with a laptop.
6. Use VLC Media Player (Yes, It Can Do That)
VLC is known as a video player, but it does more than just play files. Reversing a video with VLC takes a bit more effort, though.
Here’s how it works:
– Convert the video into a series of images using the“Convert/Save” feature
– Rename those image files so they're in reverse order
– Use VLC or a different tool to convert the image sequence back into a video
This method isn’t quick, and it’s not the smoothest either. But if you’re working offline or don’t want to install extra editing software, it’s a possible route. It’s also useful if you’re just trying to reverse visual content without sound.
Tips for Reversing Without Headaches
Let’s be real—editing shouldn’t be harder than it needs to be. So here are a few things to keep in mind before starting:
Trim first: If you only want a short segment reversed, cut the video before applying anything. It saves time and makes processing faster.
Mute if needed: Reversed audio can sound a little chaotic. Most tools let you mute it entirely or add your sound later.
Keep a copy: Always keep the original file untouched. Mistakes happen, and redoing work is nobody’s favorite.
Use lower resolution: If you're on a slow device or internet connection, work with a lower-quality version of the video while editing. Then, apply the same steps to the full version later if needed.
Wrapping It Up
There's no single "right" way to reverse a video—it really depends on what you're using, what you're trying to make, and how much time you've got. Whether it's an app like CapCut, a desktop editor like Premiere, or just a quick trip to your browser, playing a video backward is easier than it sounds. Pick what suits your setup and the kind of edit you're looking for. No tech degree is required.
On this page
How to Play a Video Backwards in 6 Best Ways 1. Use a Mobile App (Yes, It’s That Easy) For Android: For iPhone: 2. Try an Online Tool (No Downloads Needed) What makes this useful: 3. Reverse in Adobe Premiere Pro (For Those Who Already Use It) 4. Do It in iMovie (Mac and iOS Users) 5. Use CapCut (Popular and Straightforward) 6. Use VLC Media Player (Yes, It Can Do That) Tips for Reversing Without Headaches Wrapping It UpAdvertisement
Related Articles

A Beginner’s Guide to Microsoft Copilot and How to Use It
PowerDirector: A Fast and Accessible Video Editing Tool for Everyone
11 Best CR2 to JPG Converters You Can Use Right Now
How to Play a Video Backwards: 6 Easy Methods Anyone Can Use

Funimate: The Video Editor That Turns Effects into Play
4K UHD vs 1080p Resolution What You Need to Know
Mastering Sound Editing and Delaying Music on TikTok

Magisto: The Simplified Approach to Video Editing for Quick and Effective Content
How to Easily Create Smooth Slow-Motion Videos in Adobe Premiere
How to Reverse Video Footage in After Effects and Best Alternatives
How to Convert WebM to PNG Online Without Installing Any Software