 novityinfo
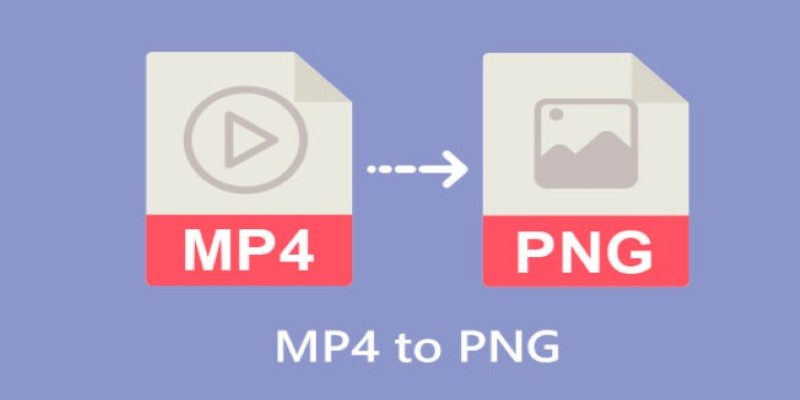
Converting MP4 to JPG: The Smarter Way to Capture the Perfect Frame
Advertisement
If you've ever had a moment in a video that made you pause and think, this would be a perfect photo; you're not alone. Videos often capture expressions, movements, and frames that feel too good to stay buried in motion. If you've ever had a moment in a video that made you pause and think, this would be a perfect photo; you're not alone. Turning MP4 files into JPG images is a handy trick to know.
But not every converter does the job right. Some skip frames. Others compress the image so much it looks like it went through five rounds of pixelation. And then there are a few that quietly get it all right. That’s where this guide comes in—helping you figure out not just the “how” but the “which” and “why” when it comes to converting MP4 to JPG.
What Happens When You Convert MP4 to JPG?
Let’s start with the basics. MP4 is a video format—meaning it stores moving images, audio, and sometimes subtitles all in one file. JPG, on the other hand, is a still image format. When you convert MP4 to JPG, you’re taking a single frame from a video and freezing it into a photo. It’s like picking your favorite page out of a flipbook and saving just that one.
This is especially useful when you're working with tutorials, events, vlogs, or just catching that one split-second smile that you can’t recreate.
Best MP4 to JPG Converters Right Now
Here’s the part you came for. Let’s walk through some of the tools that have made this task feel less like a hassle and more like a feature.
VLC Media Player – Yes, It’s More Than Just a Player
Most people know VLC as the video player that handles every file type you throw at it. But tucked inside its menu is a frame capture option that does the job of a converter without needing anything else installed.
How It Works:
Open your video in VLC. Pause at the frame you want. Then just go to Video > Take Snapshot. Done. The image is saved to your system in high resolution, depending on your video's quality. It doesn't get more straightforward than that.
FFmpeg – For Those Who Don’t Mind a Bit of Command Line

Okay, this one is for the slightly tech-savvy crowd. FFmpeg is open-source and completely free, and it's what most paid tools actually use in the background. It gives you full control over everything—from selecting frame rates to naming the output files however you want.
How It Works:
You enter a command like:
ffmpeg -i video.mp4 -vf fps=1 out%d.jpg
This pulls one frame per second and saves each as a JPG.
Online Convert (online-convert.com) – No Downloads Needed
This one’s made for those who want something browser-based. Just upload your MP4, pick JPG as the target format, and hit go. It lets you select the frame rate and even tweak output image quality.
How It Works:
Go to the site, upload your file, set the parameters, and download your images. Simple.
Movavi Video Converter – For the Drag-and-Drop Crowd

Movavi offers a polished interface with plenty of features, including MP4 to JPG conversion. It’s not free, but there’s a trial version if you’re testing the waters. One big plus is the preview window—it lets you scroll through the video and pick exactly where you want to grab frames.
How It Works:
Import the video, select the frame(s), and choose JPG as your output. Movavi handles everything else.
Adobe Premiere Pro – For Those Already Editing
If you’re already using Premiere Pro for video editing, there’s no need to export the whole clip just to grab a frame. It has a built-in option to export stills directly from the timeline, and the output is high-quality.
How It Works:
Load your video, scrub to the frame you want, click the camera icon (Export Frame), and choose JPG as the format. You can even name the file and select where it saves.
Things to Watch Out For
Before you hit convert, there are a few things worth checking.
Video Quality Matters: If your MP4 is blurry, the JPG will be too. Try to work with high-resolution video.
Frame Rate: Tools like FFmpeg let you pull one frame every second—or every tenth of a second. Be clear on how many images you actually need.
Batch or Single?: Some tools convert every frame into a JPG. That’s great for animation or slow-motion work, but maybe not so great if your video is five minutes long.
Compression: Not all JPGs are created equal. If quality is important, pick tools that let you control compression levels.
How to Use These JPGs in Everyday Projects
You’ve got the images—now what?
Content Creators: Use JPG frames as thumbnails, blog images, or step-by-step illustrations.
Educators: Capture process steps from recorded lessons or science experiments.
Designers: Extract aesthetic scenes to use in visuals or layout drafts.
Personal Use: Print stills from family videos or save that perfect frame from a vacation clip.
If your goal is to simplify your content creation or save those one-of-a-kind expressions, converting MP4 to JPG becomes more than a file format switch. It’s a small but handy way to get more out of the videos you already have.
Final Thoughts
The ability to pull images from video might seem like a small thing, but it’s surprisingly useful when you think about how often we interact with video content. Whether you’re building content, saving memories, or just need a still shot without using your phone to pause and take a picture of your screen, the right converter makes all the difference.
Some people prefer the precision of FFmpeg. Others like the ease of VLC or Movavi's clean interface. Whatever your style, one thing’s for sure—you no longer have to skip through your video and take awkward screenshots. There’s a better way, and now you know how.
On this page
What Happens When You Convert MP4 to JPG? Best MP4 to JPG Converters Right Now VLC Media Player – Yes, It’s More Than Just a Player How It Works: FFmpeg – For Those Who Don’t Mind a Bit of Command Line How It Works: Online Convert (online-convert.com) – No Downloads Needed How It Works: Movavi Video Converter – For the Drag-and-Drop Crowd How It Works: Adobe Premiere Pro – For Those Already Editing How It Works: Things to Watch Out For How to Use These JPGs in Everyday Projects Final ThoughtsAdvertisement
Related Articles
How to Make a Smooth 3D Effect for TikTok: Step-by-Step Guide

Apple Clips Review: A Simple and Fun Way to Create Expressive Videos
YouCut App Review: Features, Pros, Cons and Pricing
How to Convert WebM to PNG Online Without Installing Any Software

Magisto: The Simplified Approach to Video Editing for Quick and Effective Content
Step-by-Step Guide to Viewing and Saving Fortnite Replays

Funimate: The Video Editor That Turns Effects into Play

How to Reverse a Video on Snapchat Using the Built-In Filter
CapCut: The No-Nonsense Video Editor That Speeds Up Your Content Game

VN Video Editor: Effortless Mobile Editing with Advanced Features

InShot Review: The Go-To Video Editor for Quick, Polished Social Content